| << Step 2: Starting a new document | Step 4: Placing graphics >> |
| Top: Documentation Library | Up: Lesson 2: Designing a Menu |
Step 3: Setting master page guides
In this exercise, you will create the guides that will divide the page into the menu panels. Unlike the ''Column and Margin guides'' which can be set when you create a new document, ''Master Page Guides'' are individual guides which can be placed anywhere on a master page.
Each PageStream page is based on a master page, so the guides for a master page will be visible on pages that use it. In a double-sided document such as this, master pages have left and right sides for the facing pages of the document. You will create the front of the menu on the first page, which is the right side, and the back of the menu on the second page, the left side.
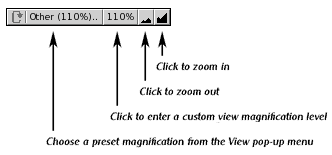
Choose ''Show Full Page'' from the ''View'' pop-up menu if the entire page is not already visible.
1. Choose ''Set Page Guides'' from the ''Layout'' menu.
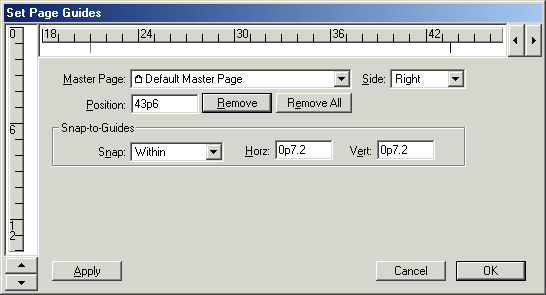
The ''Set Page Guides'' dialog box will appear. Note that you don't have to view the master page for a page in order to create guides on it. If you create master guides while viewing a page, the guides will be created on its master page, and thus will be shown on any page based on the master page.
2. Create the right side's guides.
Click on the horizontal ruler at the 21p mark to create a guide. The guide's position will be shown in the ''Position'' text box.
Create the second guide by clicking on the horizontal ruler at 43p6. You will have to scroll the ruler to the right with the right arrow control to see this part of it. Note that the new guide is now shown by a black mark and the first guide by a gray mark. The black mark indicates the active guide. You can switch active guides by clicking on the gray mark of a guide.
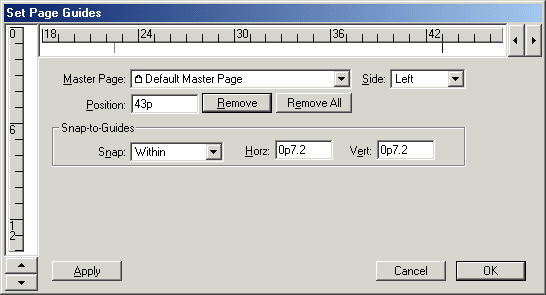
3. Create the left side's guides.
Choose ''Left'' from the ''Side'' pop-up menu to create guides on the left side of the master page. Because you choose ''Set Master Guides'' when a right page was displayed, this pop-up menu defaulted to the right page.
The ''Center'' side option in this pop-up menu is used for page spreads only.
Create guides at 22p6 and 43p.
4. Click ''OK''.
If you clicked in the wrong spot, you can correct the position now by dragging the mark below the ruler to the correct position, or by editing the number in the ''Position'' text box. If you accidentally create an extra guide, you can remove it by selecting it and then clicking ''Remove''.
Step 3: Setting master page guides Sub-Section url:PGSuser/lesson2#step3
created:2006-04-14 14:31:17 last updated:2019-12-19 19:14:06
Copyright © 1985-2026 GrasshopperLLC. All Rights Reserved.
| User Contributed Comments For Step 3: Setting master page guides | sign in to add a comment |
| There are no user contributed comments for this page. | |
| << Step 2: Starting a new document | Step 4: Placing graphics >> |
| Top: Documentation Library | Up: Lesson 2: Designing a Menu |


