| << Step 7: Scaling an object | Step 9: Setting text attributes >> |
| Top: Documentation Library | Up: Lesson 1: Creating a Letterhead |
Step 8: Creating a text block
The next step is to type the address of the company at the top of the letterhead. Creating a text block is the best solution for a small amount of text such as this. You could draw a text frame and then type into it, but it's often easier to just use text blocks for small tasks.

1. Choose the ''Text tool'' from the ''Toolbox''.
The mouse pointer will change to a text cursor shape.
2. Click to create the text block.
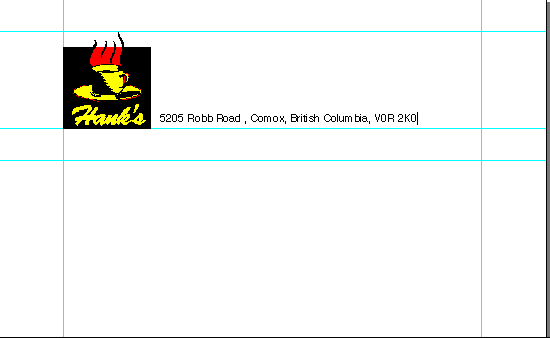
Click on a blank area of the page just to the right of the logo to create the text block. A blinking vertical bar will appear where you clicked: this is the text insertion point and shows where text will appear when you type.
3. Type the address.
Enter the address 5205 Robb Road, Comex, British Columbia, V0R 2K0 as shown below.
Step 8: Creating a text block Sub-Section url:PGSuser/lesson1#step8
created:2006-04-14 13:55:29 last updated:2019-12-19 19:12:17
Copyright © 1985-2026 GrasshopperLLC. All Rights Reserved.
| User Contributed Comments For Step 8: Creating a text block | sign in to add a comment |
| There are no user contributed comments for this page. | |
| << Step 7: Scaling an object | Step 9: Setting text attributes >> |
| Top: Documentation Library | Up: Lesson 1: Creating a Letterhead |

