| << Step 2: Setting page guides | Step 4: Saving your work >> |
| Top: Documentation Library | Up: Lesson 1: Creating a Letterhead |
Step 3: Placing a graphic
In this step, you will import a drawing created with an illustration program to use as a logo for the letterhead. The logo will be placed near the top left corner of the page.
1. Choose ''Place Graphic'' from the ''File'' menu.
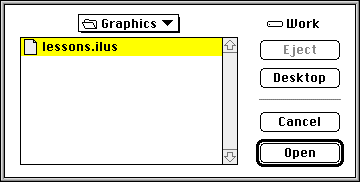
The ''Place Graphic'' file selector will appear. Select Lessons.ILUS from the Graphics folder in the PageStream directory. If you don't see this file, you may not be in the correct folder. Click ''Open''.
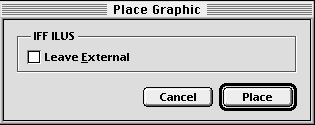
2. Click ''Place'' in the ''Place Graphic'' dialog box.
A status dialog box will appear to indicate the time to load the drawing. When it disappears, the logo will appear in the center of the window if ''Place Graphic in Center'' is selected in the ''Files'' panel in ''Preferences''.
Step 3: Placing a graphic Sub-Section url:PGSuser/lesson1#step3
created:2006-04-14 13:55:29 last updated:2019-12-19 16:53:02
Copyright © 1985-2026 GrasshopperLLC. All Rights Reserved.
| User Contributed Comments For Step 3: Placing a graphic | sign in to add a comment |
| There are no user contributed comments for this page. | |
| << Step 2: Setting page guides | Step 4: Saving your work >> |
| Top: Documentation Library | Up: Lesson 1: Creating a Letterhead |


