| << Step 3: Setting master page guides | Step 5: Creating a text block >> |
| Top: Documentation Library | Up: Lesson 2: Designing a Menu |
Step 4: Placing graphics
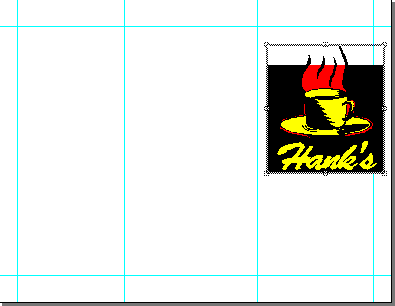
The outside of the brochure is made up of three panels. The front will have a logo.
You will now place a graphic on the front panel.
1. Choose the ''Place Graphic'' command from the ''File'' menu.
This will open the ''Place Graphic'' file selector. Select Lessons.ILUS file from the Graphics folder in the PageStream directory and click on ''Open''.
2. Click on ''Place'' in the ''Place Graphic'' dialog box.
This will import the drawing with the default options; the drawing will be placed at the center of the window if ''Place Graphic in Center'' is selected in the ''Files'' panel in ''Preferences''.
3. Resize the drawing to the appropriate size.
The drawing to be imported is larger than the space you need to fill. Make sure that ''Proportional Scale'' is on in the ''Edit Palette'' before resizing the drawing. Using the ''Object tool'', proportionally resize the drawing so that its coordinates are approximately W:19p6, H:21p6.
 |
4. Drag the drawing into position.
Drag the drawing with the ''Object tool'' so that its top left coordinates are approximately X1:45p, Y1:7p6.
This is a good time to save your work. Choose the ''Save'' command from the ''File'' menu to open the ''Save Document'' file selector. Name your document file and click on ''Save''.
Step 4: Placing graphics Sub-Section url:PGSuser/lesson2#step4
created:2006-04-14 14:31:17 last updated:2019-12-19 17:01:57
Copyright © 1985-2025 GrasshopperLLC. All Rights Reserved.
| User Contributed Comments For Step 4: Placing graphics | sign in to add a comment |
| There are no user contributed comments for this page. | |
| << Step 3: Setting master page guides | Step 5: Creating a text block >> |
| Top: Documentation Library | Up: Lesson 2: Designing a Menu |

